Hi, its a horrible wet day here today, Bet my horse its pleased hes not paddling in mud in the Field. Left him tucked up in a nice clean stable with his pj's on and turnip on a string to keep him happy.
Yep back to the Christmas cards with today's post. But if you want to send them, you have to make them or buy them to send. Well this cards a bit of both.

I seen this card in supermarket while I was doing weekly food shop with my hubby.
A pack of 10 cards for £1.00. My hubby looked at me puzzled "why you buying Christmas cards when you make cards?". Well its simples I wanted the cards to used the front image as my background on another card and it was cheaper than me buying these cards than background papers.
I have been asked for a set of 10 handmade cards so this was perfect, As the would all have the same background image and it was more cost effective for me to use the bought cards but add my bits to it. Also another good reason to purchase the cards is that it states on the back of the card that
"By purchasing this card you are helping us to raise up to £100,00 for Save the children, The money raised will go to helping the most disadvantaged children in the UK for better chances in life."
These cards were bought from Morrisons supermarket.

And all I had to do to the pre bought cards was add my touches.
So all I have done is used my memory box dies and added my stacked snowflakes.
added a bow and a little more sparkling glitter and of course the stamped image.
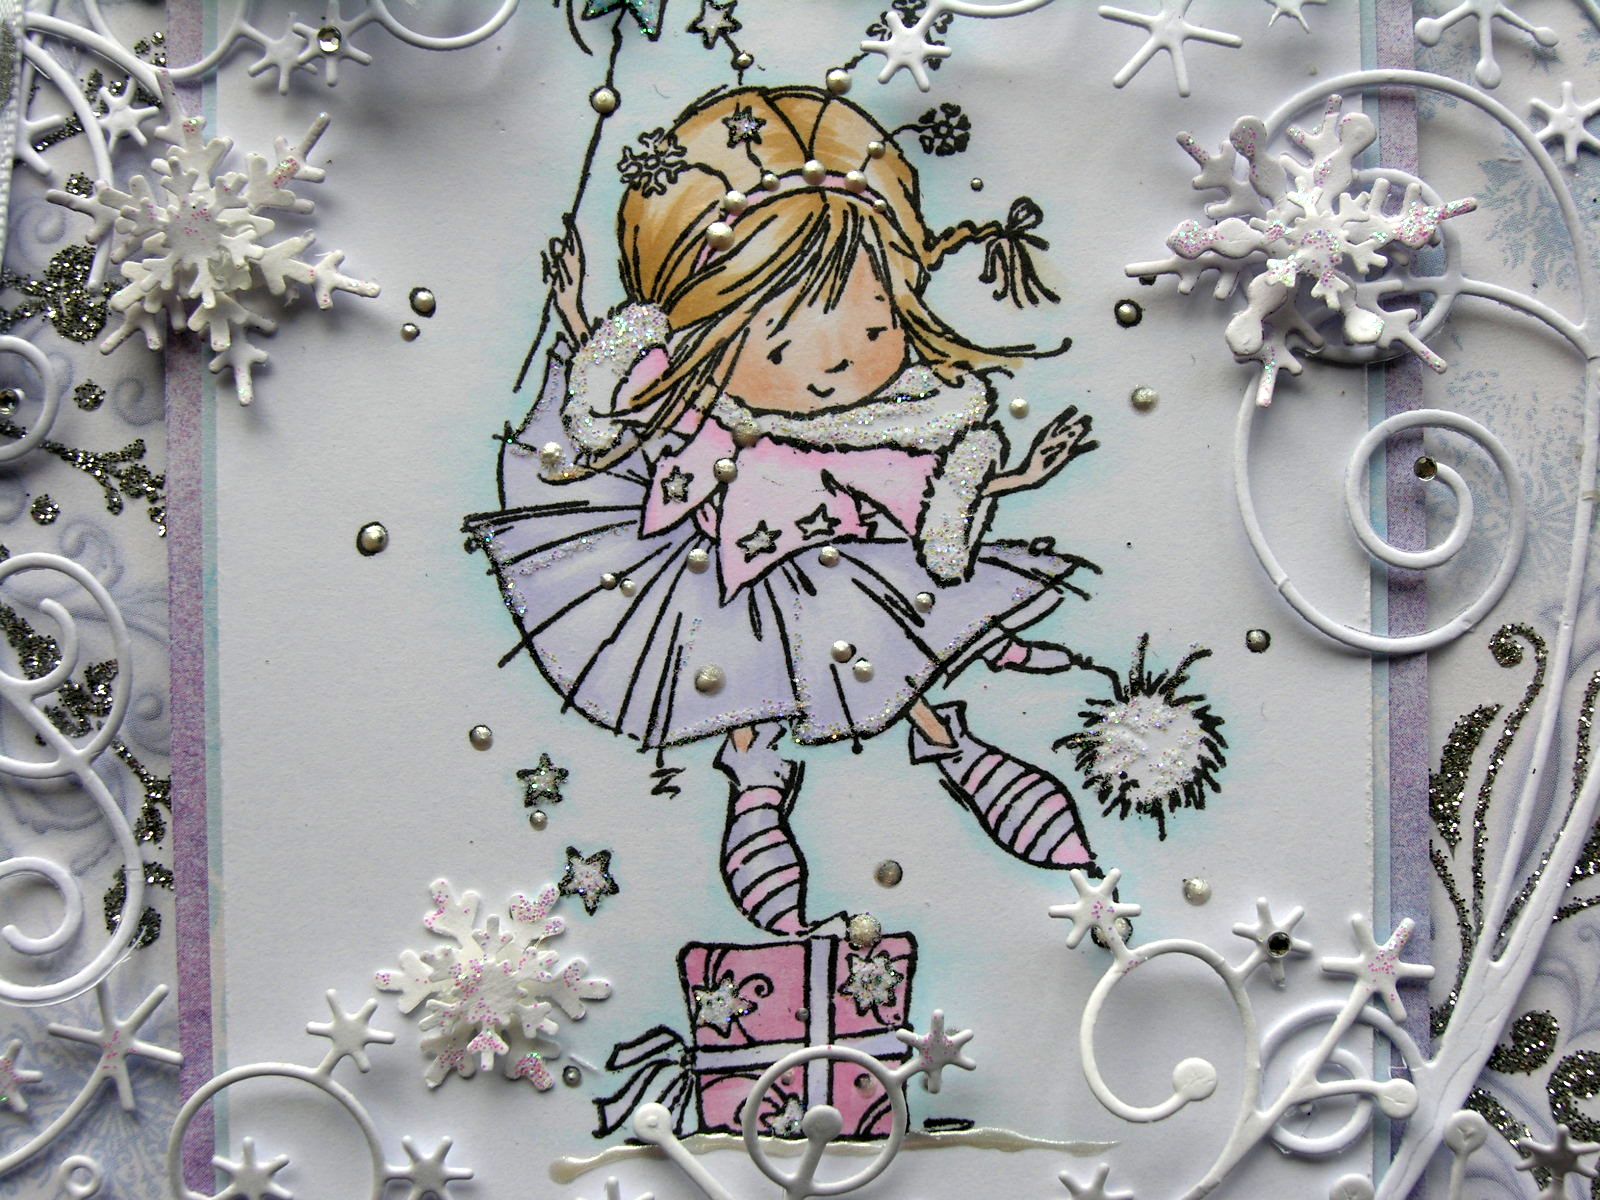
The stamp here is a Nellie Snellen Dawn stamp called Hokey Pokey
She was coloured with copic markers, and a little glitter added. Also used a pearl pen to add pearl snowy dots.

Here is the inside of the bought card. Which was perfect not much to do here as it was all ready for sentiments and loving wishes to be added by sender. the only thing I did to it was add a little glitter to the snow flacks in top corner.
Right its time I was going back in my craft room to get myself covered in glitter again.
Thank you for visiting my blog.
♥
Please feel free to leave comment or ask
questions about the cards I make. All comments are truly appreciated.
bYe ByE
for now
Klare
:O)
x
♥


